
About How to knit wool sock, Knitting socks is not just a fulfilling exercise. It is a way of tailoring socks to your desire and taste.
While buying wool socks from stores is easy, they usually don’t provide the level of warmth you desire.
If you want to learn how to knit wool sock, you have come to the right place.
This article will walk you through knitting wool socks from beginning to end.
It will show you the materials required and the knitting process.
If you follow this article to the end, you should be able to knit your wool socks quickly.
Table of Contents
How to knit wool sock
Anatomy of a Sock
There are different parts of a sock, each with different functions. Understanding the basic parts of a Sock will help you in your sock-knitting journey.
Below are the different parts of socks and their features.
Cuff– This is the first part of the cuff, and it helps to hold the sock up.
Leg– This is the area after the cuff. It can be as long or as short as you want.
Heel flap– This part houses the heel.
Turned heel– provides shaping for the heel.
Gusset– shapes the insole of the sock.
Foot– found before the toe, can be of varying length.
Toe– The last part of the sock
Materials
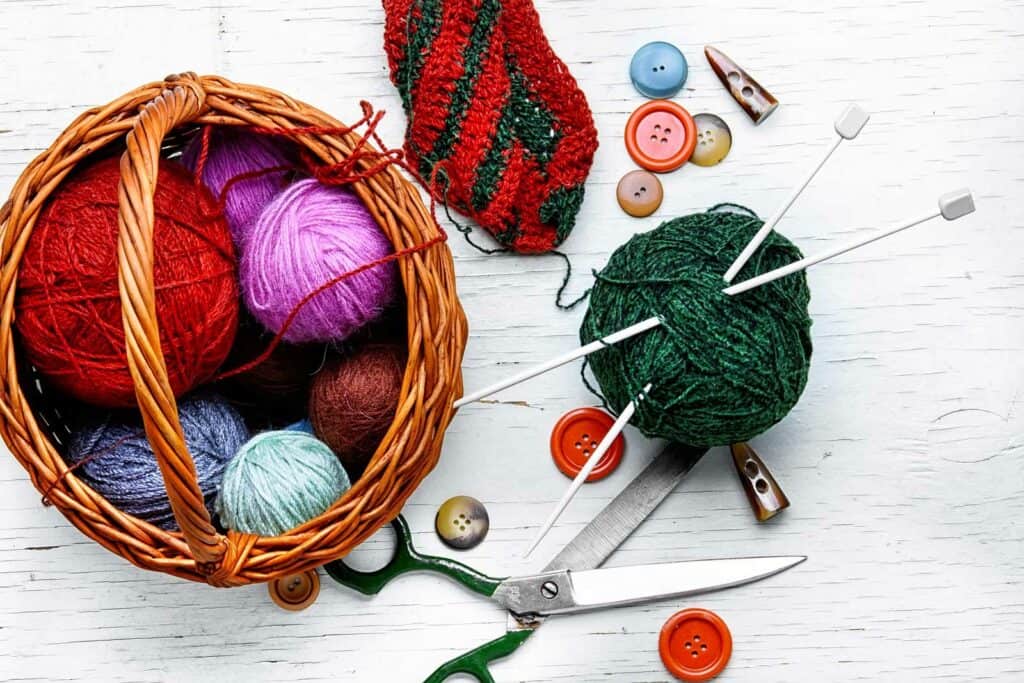
Knitting tools
There are different processes involved in learning how to knit wool socks. The easiest part of the process is getting the required materials. The materials needed are as follows:
- Wool yarn
- Knitting needles: 5 double-pointed needles (DPNs)
- Scissors
- Stitch markers
- Tapestry needle
For clarity’s sake, we will name our DPN needles A, B, C, D, and E.
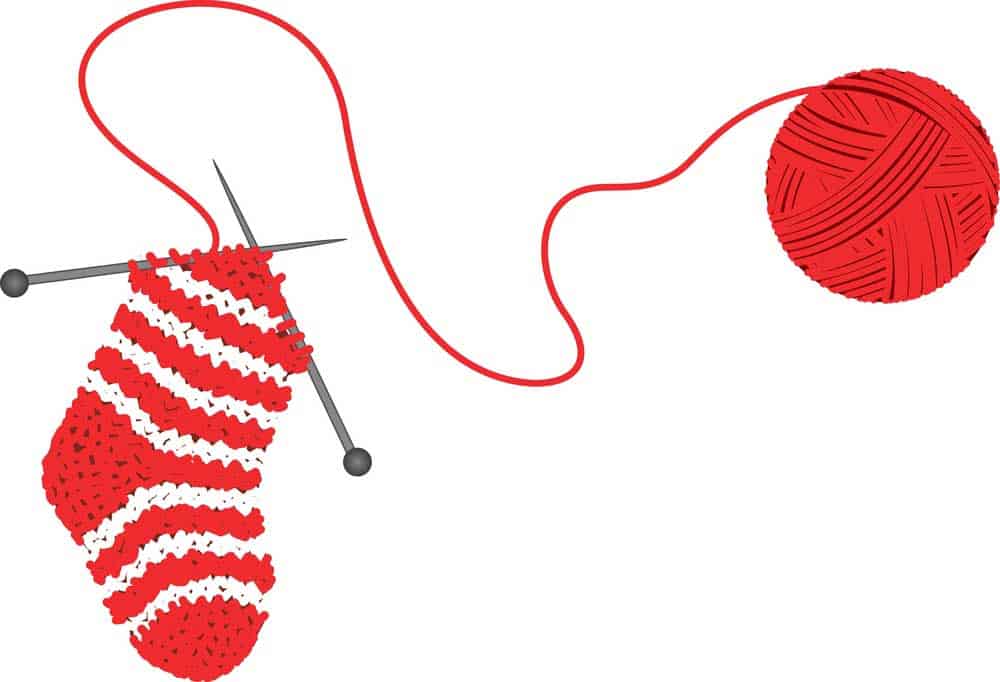
We will be making a medium-sized sock, and we’ll be knitting from cuff to toe.
Casting on stitches
The first step in knitting wool socks is casting on the stitches needed for the job.
We will use the long tail cast-on. Since we are trying to make medium-size socks, let’s cast on 64 stitches among four needles.
If we do that, we’ll have 16 stitches across needles A, B, C, and D.
The amount of stitches you cast depends on the size of the sock you want to make.
You can find out how many stitches you need to cast on for any size by knitting a swatch.
Cuffs
knitting
Since we are knitting from cuff to toe, we will start knitting from the cuff.
The cuff helps to hold the sock together. We will knit in the round, where we knit 1 stitch and purl 1 stitch for needle A.
Do the same for needle B and needles C and D, all using our needle E. We keep this process going for up to 20 rows, then start on the leg.
How to knit wool socks: Leg
The next point of knitting is the leg. Here, we continue knitting in the round, and since we are making medium-sized socks, we will go 60 rounds.
Knit across all four needles for 59 rounds, and on the 60th round, knit only on needles A and B. This helps to prepare for the heel flap.
How to knit wool socks: Sock heel
After working on the cuff and leg, the sock heel is next. The sock heel has three parts: the heel flap, the turned heel, and the gusset.
Heel flap
For the heel flap, we will not be working in the round. We will be working back and forth on needle C and needle D.
We are going to use the slipped stitch pattern.
This pattern makes it difficult for the sock to tear around the heel flap area.
We are knitting two rows to do the heel flap.
Row 1: Slip the first stitch purlwise from the back, and knit 1 stitch.
Work the stitches from needle D to needle C.
Row 2: Turn your work to the other side, stitch the first stitch purlwise, and purl across needle D.
Repeat both rows 16 times.
Turning the heel
Turn the heel to provide a comfortable shape to house the heel. Use short rows, as this will create a kind of curve that will accommodate your heels.
To Knit the turned heel,
- Hold the yarn at the back, knit the first stitch purlwise, and knit 16 stitches. Slip 1 stitch, knit the next 2 stitches together, and knit 1 stitch.
Turn the work to the other side with the yarn at the front.
- Knit the first stitch purlwise, purl 3 stitches, purl 2 stitches together, purl 1 stitch.
After that, turn the work back and repeat the two rows below.
Row 1: Knit 1 stitch purlwise with yarn in the back and knit to 1 stitch before the gap. Close the gap by slipping 2 stitches, knitting 2 stitches together, and knitting 1 stitch. Turn the work again.
Row 2: Knit 1 stitch purlwise, and purl 1 stitch before the gap. Cover the gap by purling two stitches together and then purling 1 stitch.
Repeat the two rows till you get to the last row. There, you purl across, purl 2 stitches together, and purl 1 stitch.
How to knit wool sock: Gusset shaping
Before shaping the gusset, we have to pick up the gusset stitches.
We need all our needles in this segment. The process goes as follows:
- Knit across 9 stitches on one half of the heel turn.
- Pick up the gusset on the side of the heel flap with 16 stitches.
- Adjust the beginning of the round from needle A to needle D.
- Knit across needle A and needle B.
- Pick up the rest of the gusset stitches on the other side of the heel flap (16 stitches).
- Knit across 9 stitches in needle C to get to needle D
Up next is the gusset shaping. Here, there are two steps: a decrease round with two decreases and a plain knit round.
Round 1
Knit across needle D to 3 stitches before the end of the needle.
Decrease 1: knit 2 stitches together, knit 1 stitch, and knit across needles A and B.
Decrease 2: in needle C, knit 1, slip 1, slip 2 stitches, knit 1 stitch, and then knit to the beginning of the round.
Round 2
Plain knit round
Repeat both rounds until 16 stitches are remaining per needle.
Foot and Toes
After shaping the gusset, the next part to Knit is the foot. We do this by continuing to knit in the round.
Then you move on to the toe section.
The first step to knitting the toe section is to repeat the two rounds below.
Round 1
- For needle A: Knit 1 stitch, slip 2 stitches, Knit 1 stitch, and knit across needle A.
- For needle B: Knit across needle B to the last three stitches, knit 2 together and knit 1 stitch.
- For needle C: Knit 1 stitch, slip 2 stitches, knit 1 stitch, and knit across needle C.
- For needle D: Knit across to the last 3 stitches, Knit 2 stitches together, and knit 1 stitch.
Do four decreases at (a) the start of needle A (b) the end of needle B, (c ) the start of needle C, (d) the end of needle D
Round 2: Plain knitting
Repeat round 1 and round 2 till you have 8 stitches per needle.
For the next phase:
A: Knit 1 stitch, slip 2 stitches, knit 1 stitch, knit across.
B: Knit to the last 3 stitches, knit 1 stitch, and knit across.
C: Knit 1 stitch, slip 2 stitches, Knit 2 stitches together, and knit 1 stitch.
D: Knit to the last three stitches, knit two stitches together, and knit 1 stitch.
Repeat the process till you have four stitches per needle.
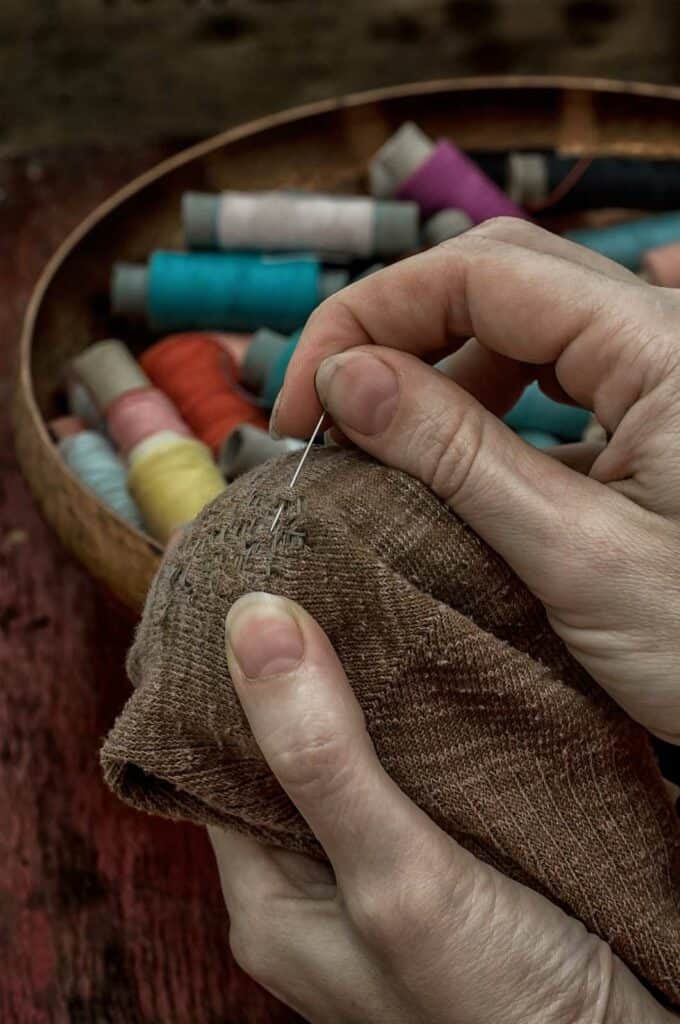
Kitchener stitch and weaving in the tails
sock
This technique is used to finish the sock, and it helps to give the toe an excellent shape.
Here, you are to slip all the stitches in needle B into needle A. Also, slip all the stitches in needle D into needle C.
Thread the tapestry needles and use them to:
Needle A
- Go into the first stitch knitwise, pull the yarn through, and take off the stitch.
- Go into the next stitch purlwise, pull the yarn through, and leave the stitch.
Needle B
- Go into the first stitch purlwise, pull the yarn through, and take off the stitch.
- Go into the next stitch knitwise, pull the yarn through, leave the stitch, and tighten.
Repeat these four steps till you finish everything. Afterward, you take care of the loose ends by weaving in the tails.
Blocking
Blocking is the last part of the process. Here, there is no knitting involved. Just get water and a towel, and follow the process below:
- Carefully soak the sock in the water without agitating. Leave it for about 20 minutes so it can saturate thoroughly.
- After 20 minutes, bring the sock out of the water and squeeze gently to expel the water.
- Lay the sock on an open towel. Close the towel on the sock and press the water out.
- Lastly, arrange the sock the way you would want it to be when it dries.
How to adjust the size for this pattern
The information in this article is a valuable template for creating socks of different sizes.
Adjusting the size for this pattern is not a difficult feat. All that is needed is to:
- Measure the foot you want to create the sock for.
- Do the sock stitch calculation to determine the right amount to cast on.
- Adjust the length and heel flap.
- Test the socks as you go on to ensure you’re on the right track.
Conclusion
Learning how to knit your wool socks is a fun and fulfilling endeavor.
You can easily obtain the materials you need and start whenever you want.
If you follow the processes as stated in the article, you can make your own warm cozy socks.