
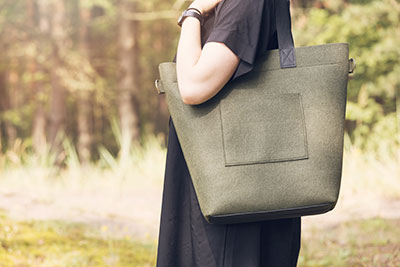
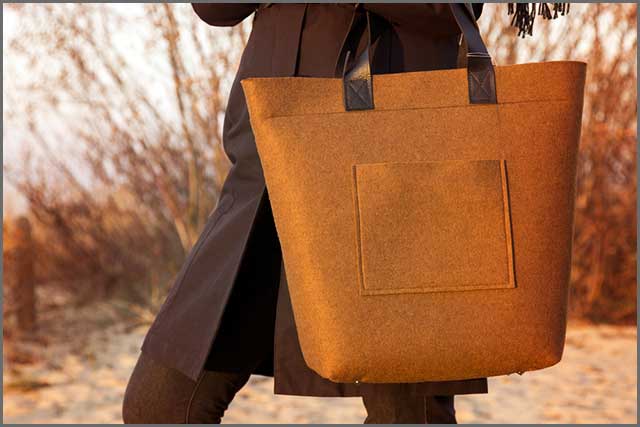
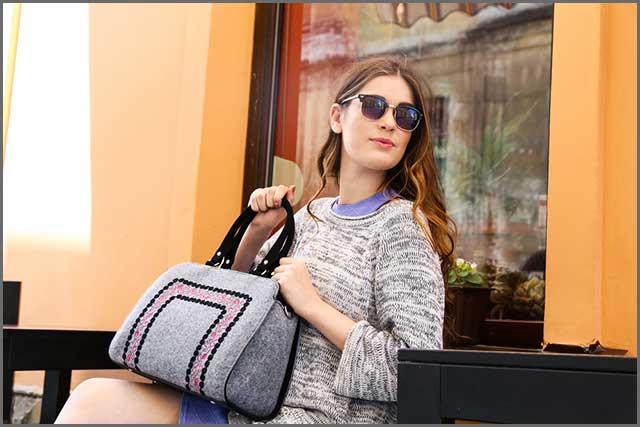
We have the perfect solution for you if you have always wanted to be a designer or are looking for a useful and versatile bag! How about investing time and effort and making a beautiful felt bag yourself?
The bag you design will perfectly meet your needs, which is its biggest advantage. On top of that, felt is affordable and durable, and the bag should last a long time. Finally, the process is ideal for those who like to get creative and easy enough that beginner will enjoy it. Please take a look at our step-by-step guide!
Table of Contents
- Step 1: Preparing the Outline
- Step 2: Finding the Belts for Your Bag
- Step 3: Do Belts and Pockets First
- Step 4: It’s Time for Strap Covers
- Step 5: How to Reinforce the Bottom Part
- Step 6: Take care of the Sides
- Step 7: Finalizing the Assembly Process
- Step 8: Carry Your Bag and Enjoy!
- Summary
Step 1: Preparing the Outline
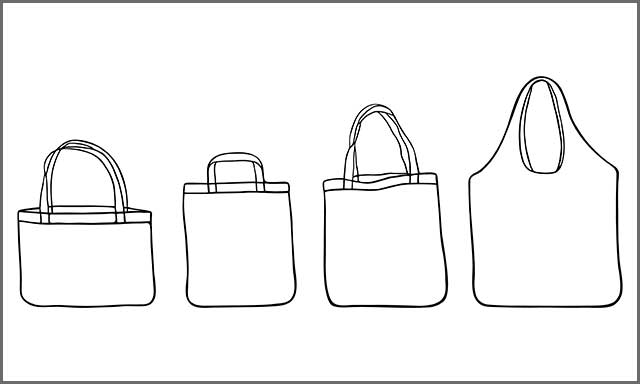
The first thing you want to do is to decide what kind of bag you want to make. You have numerous options because you can make small and big bags with different pockets for storing small items.
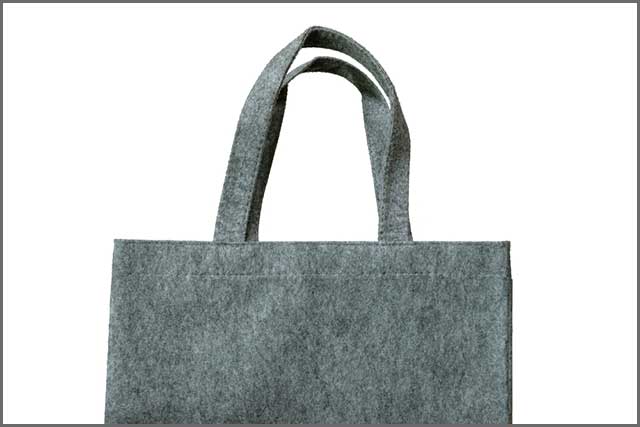
In this guide, we will make a tote bag that can hold many things. We will be using a felt that is three millimeters thick. It is the optimal length to secure the necessary strength and prolonged durability.
You are welcome to choose your favorite colors, but we advise wearing wool felt. The advantage of wool is that it is a natural material, which is more durable and softer than synthetic. It is worth mentioning that wool felt is also a great option for cutting because it won’t unfurl.
The style is completely up to you, but here is a simple option. How about making a bag using a single wool felt sheet and then moving on to complicated designs? The sewing part takes time, and you want to make things easier wherever possible. As for the design, draw it to see if it fits you, and sketch an outline on paper.
Your sheet should measure 40 x 19 inches. While outlining it for cutting, you want to divide the sections into two sides, front and back. It should ideally go side, front, side, and back. You also want to consider the bottom, so you should leave five inches at the lower part of your sheet. Please leave them in sections intended for the front and back sides.
Once you have the outline ready, it is time to cut it. You can do that with scissors or rotary cutters, but the latter may provide a more accurate and cleaner cut.
Step 2: Finding the Belts for Your Bag
It is time to find other materials for the bag. For starters, you can consider scrap pieces you can use as outer or inner pockets. It is always nice to have room to store small items and have them within your reach.
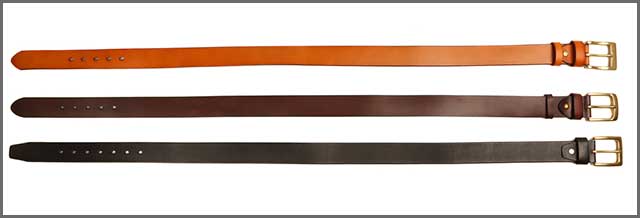
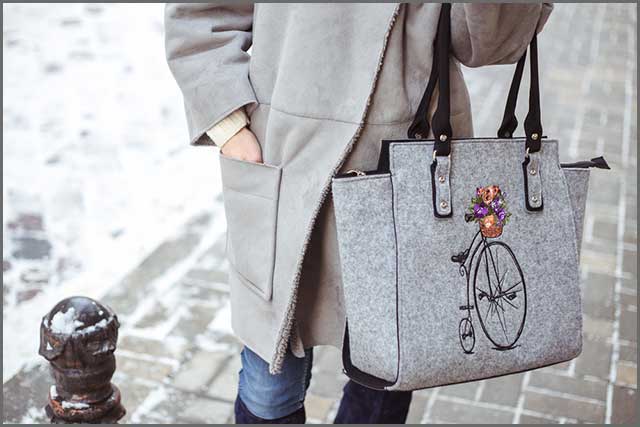
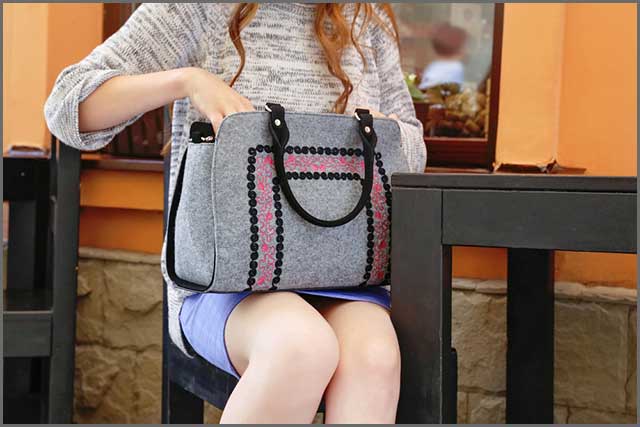
The crucial part of your bag is the belt. Do you have any belts you are not carrying around the house? You can consider using them, but you can also buy one if needed. Our tip is to go with a male belt as they are usually thicker and more durable than their female counterparts. The color is up to you, but if possible, go with leather material as it is the most durable.
You want to use a ruler and rotary cutter (scissors may not be enough) to cut the belt. You don’t need buckles for your bag, so you should remove them immediately.
Step 3: Do Belts and Pockets First
You have the basics of your tote cut now, and it is time to add the pocket(s). The desired scrap piece should be somewhat rectangular, which seems the best fit.
Before we start, let us mention that you might consider using a sewing machine. We advise you to use a strong sewing needle and thread and consider adjusting the process to your needs as you go through the steps.
Use a tape roll and circular edge to trace the edges of the scrap. Grab scissors and remove the rounded edge. The idea is to make the pocket bottom and then attach it to the tote’s front (or any other desired position).
When it comes to the belt straps, you can show or hide the part that has notches. Depending on that, choose how you want to stitch the strap to the felt. You should sew the other side below the edge of the other side. It is quite simple – the desired belt end goes over, and the other below the tote.
You want the strap to be durable, especially if you carry this bag outside. It would be best to consider multiple sewing rows, as that will strengthen the connection.
Step 4: It’s Time for Strap Covers
Don’t add any if you feel that you like the belt strap without covers. However, a cover might improve durability and protect the strap from damage.
If you decide to add a cover, you can feel free to choose the desired color for the material used. The same applies to the color of stitches.
Here is a neat trick – you can use felt patches to hide the stitches. It might improve the aesthetics of your bag and hide those stitches that are not exactly appealing.
Step 5: How to Reinforce the Bottom Part
Our next task is crucial because we will be working on the bottom of the purse. It is essential to make the bottom as strong as possible, especially if you make a large bag that can fit many things.
Here is where the additional five inches from the first step will come in handy. It is time to design a bottom out of them. Overlap the two pieces, and use a one-inch margin to ensure optimal strength.
You can use a ruler to point to the exact place of the margin and use chalk or something else to mark it. That will make it easier to fold the sections and ensure you overlap them in the right position.
Now, you want to be careful and sew the overlap in position. It is important to keep the overall correctly placed, or you may risk the bag’s strength. Feel free to sew the overlap multiple times if you want to reinforce the bottom.
Having a completely clean fold is not easy, especially when using thick felt. That is why you may want to consider top-stitching everything. Yes, that also means the bottom because you want the entire bag to look nice.
We don’t advise using the stitchery that faces toward the ends because it will make it impossible to achieve a clean crease.
Now, you have your bottom ready, but it doesn’t seem strong enough. That is why you want an additional layer to reinforce it. Measure the bottom precisely to discover the dimensions you need.
Take some additional felt, cut it to the measured requirements, and place it on the bottom of the tote. Since the felt is three millimeters thick, you can make the reinforcement six millimeters. You can make it by sewing two pieces of your 3mm felt sheet together.
Step 6: Take care of the Sides
W. Toe is entering the final phase of designing a felt bag. You almost have everything ready, but it is time to take care of the sides. And You want to pinch the two remaining ends and perform some sewing action to tie them together.
You may need to trim the edges you sew because you want the edge to be completely clean. Using a rotary cutter is best if you feel skilled enough.
Step 7: Finalizing the Assembly Process
As you can see, you’ve almost finished making a unique felt bag! You can check it out to see your progress so far.
You might notice the edge that remained unattached. Now, you can choose the easy path and sew this edge. However, it may be hard to get clean lines.
That is why you might consider using additional material to deal with the remaining edge. For example, an elastic band of two inches can be a great choice.
Alternatively, even a simple rope will do the trick. In that case, you will need to poke some holes because the rope should pass both edges.
Rivets and snaps can be the right selection here. It is important to pick a durable material, so go with snaps with at least ½-inch thickness.
Step 8: Carry Your Bag and Enjoy!
That’s it! Congratulations, you’ve designed your first felt bag! You can now use it any way you want. Do you want to combine them with your favorite clothes? Or do you want to place them in the living room and use them to store magazines or random items?
The beautiful thing about felt bags is that they are incredibly versatile, so don’t hesitate to get creative.
Summary
As you can see, making a felt bag from scratch is not that difficult. All you need is a bit of time and effort, and you will get an extremely versatile bag for different uses.
You can feel free to experiment with bag sizes as well as the thickness of the material. We tried to suggest different alternatives at every step, but you can also find your solutions if you are certain they will work!