
Have you or your kid had any school projects that involved felt? This material is incredibly resilient and fray-resistant, which makes it very versatile. You can see felt items in professional applications, but the great thing about felt craft is that it is also suitable for individuals.
If you are a beginner that wants to know more about this topic, you’ve come to the right place. Start reading the article right now to discover all the necessary facts about the felt craft.
Chapter 1. What do You Know About the Felt Craft ?
The shortest definition of felt work is that it is the art of making felt. It is interesting to note that felt fabric has been around for thousands of years. A Sumerian legend speaks that it was Urnamman of Lagash who discovered the felt-making secret.
Nomads in Asia are still making products from felt, and the Western world also utilizes this material. You can apply different explored craft methods, and the chosen approach may depend on your desired application.
Chapter 2.Felt Craft – How to Choose the Right Material?
As we already mentioned, type belongs to the category of textile materials. When it comes to source materials for making felt, you can choose between:
•Wool
•Human-made polyester
In some items, you may even see a combination of two. If you want wool felt, you will be getting a natural and eco-friendly material. Its advantages over synthetic fibers include that it is softer and stronger.
That doesn’t mean that polyester felt is not versatile. Although it will depend on the desired use, polyester can also meet your expectations. That is because these both materials are lightweight, fray-resistant, warm, and resilient.
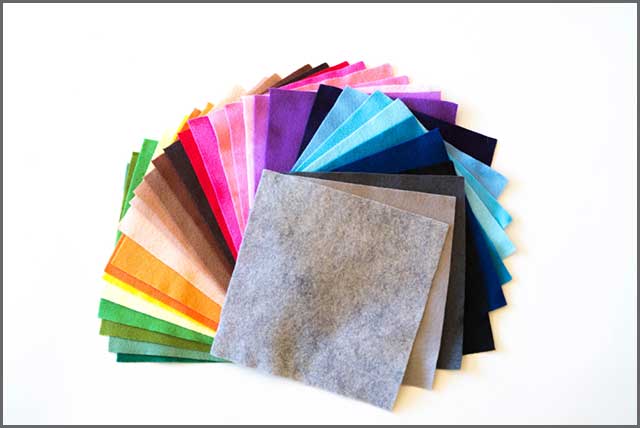
It is also vital to mention that you can choose the preferred color and thickness. It is a common practice to dye both polyester and wool.
Chapter 3: What Can You Make With the Felt Craft?
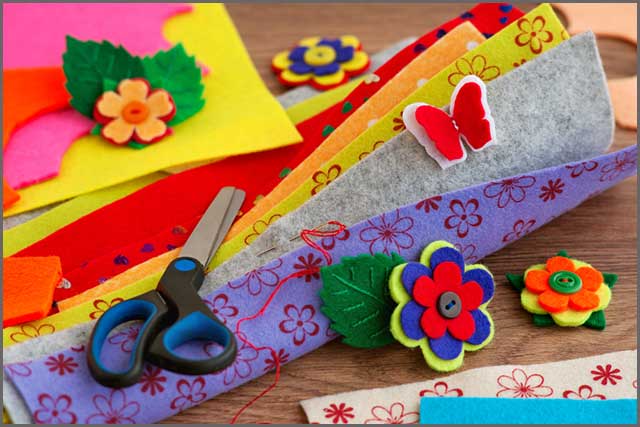
Felt is very versatile, and that is the reason why you can use it in different industries, and for various applications. Let’s take a look at some uses of this fabric:
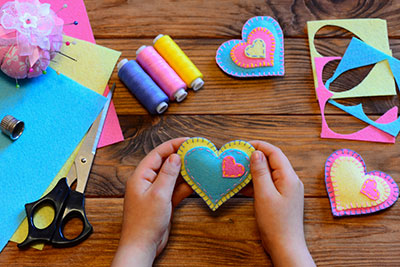
● Puppets and toys – children can make felt puppets as a part of their school projects, or enjoy this craft at home. It is the softness and durability that recommend felt for this application.
● Fashion – the fashion industry has been using felt for centuries. It started with top male hats and fedoras, but you will also find a cosmetic bag and footwear made of felt these days.
● Music – felt can dampen vibration, which is why it is a part of pianos and drums.
● Automotive – felt can be a part of the engine that keeps everything tight, and it also prevents fastenings from loosening.
● Gambling – the casino industry also utilizes felt. The preferable material for green tables is nothing else than felt.
You can also find many videos that suggest how to use felt creative. The opportunities are virtually endless if you are creative enough.

Chapter 4.Wet Felting – the Production Method in the Felt Craft
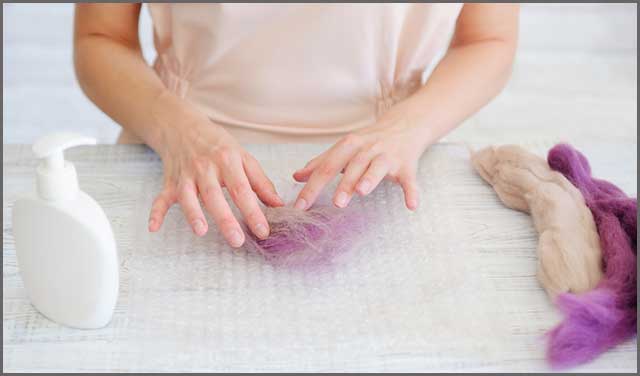
Wet felting is an easy and fun process that allows you to get creative and craft different items. You will need some processed natural wool, and it is up to you to choose the desired color(s) of the material. Other things you will need include dish soap, plastic baggies, warm water, and tabletop you will use for work.
Once you are ready, these are the steps you should follow:
Step 1: “Fluffing” the wool
Take the wool and divide it into chunks. You do not have to make all the chunks in advance, and you can share the wool during the process. You should pull each piece apart so that you can “fluff” it.
Step 2: Layering the wool
Lay the fibers on the working surface. After creating the first layer, start making the second layer. Make sure that it is perpendicular to the first one. You should aim for the layers not to be see-through, which means there should be no holes. If necessary, you can use additional chunks of wool to cover the holes and ensure you filled every gap.
Step 3: Placing the wool into a bag
Next, grab a baggy and put the wool inside. Mix some warm water and dish soap to make the water a bit soapy. You can use a bowl for this purpose. Now, you want to place the bag with the wool in this water. The idea is to drench the wool, but there is no need to leave too much water in the bag. A moderate amount will do the trick. Finally, try to remove as much air from the pack and close it tight.
Step 4: Roll the wool to connect the fibers
Place the container on the working surface. If you ever rolled cookies, that is what you should do with the bag now. Move the bag back and forth until you see that the friction starts locking the fibers together. Keep in mind that you should be patient as this step could take several minutes.
Step 5: Success!
That’s it; you’ve got your feeling ready! You can experiment with different shapes and sizes depending on your desired applications. You could use this felt like a tapestry or a coaster, or any other way you see fit. That is why you shouldn’t be afraid to get creative.
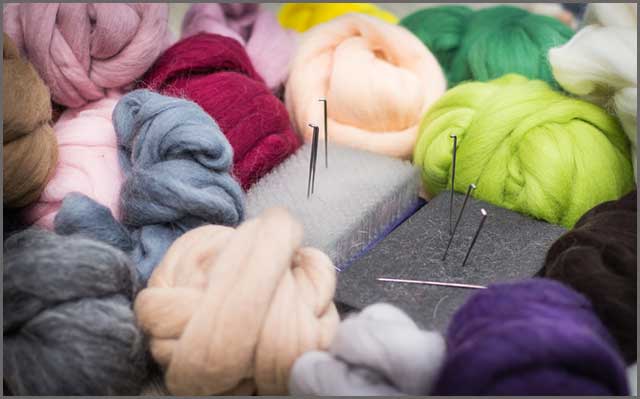
Section 5:Needle Felting – the Production Method in the Felt Craft
Wet felting is a process that is suitable for children, but the needle felt is something more adequate for adults. The reason for that is that you will be using a barbed needle in the process. The good news is that you don’t need to have any knitting experience, but if you do, it will be an extra advantage.
The primary thing you will need is a felting needle, which is different from sewing and tapestry needles because it has barbed and sharp blades. You will also need a working surface like foam pads or sponges. That is important because you do not want to poke your body with the needle during the process. Finally, you will need some needle, preferably batting or roving wool.
Step 1: Wool preparation
You want to start by either cutting the wool or pulling chunks of it if possible. If it is doable, you should tuck the ends, and make a ball out of the wool.
Step 2: Poking Time
It is now time to do some poking! Put the wool on your working surface, and take the needle in your hands. You want to poke it, but not too deep. About ¼ inches per poke should be enough. However, try to keep a straight angle as it will ensure the poking to be effortless. Please be careful because you are using a sharp needle!
Step 3: Forming the Felt
As you are poking the wool, you will notice that the form of felt. That is because the fibers will interlock as a result of your poking action. The material may shrink a bit, and that is normal.
Summary

If you are eager to try felt craft, you now have all the information you need! It will take a bit of practice to become a master, but it shouldn’t be challenging to learn the craft. As long as you are creative and willing to learn, you will soon be making fantastic items from felt!